 First,
I
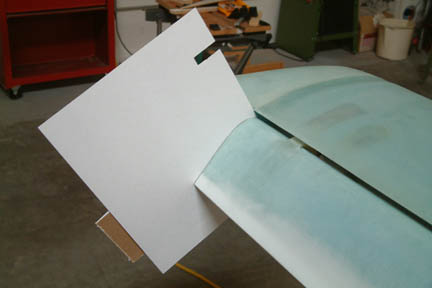
wedged a thick piece of paper between the elevator and the canard and traced out
the profile of the elevator. However, this method only provided one data point
per side. How about the profile somewhere in between?
First,
I
wedged a thick piece of paper between the elevator and the canard and traced out
the profile of the elevator. However, this method only provided one data point
per side. How about the profile somewhere in between?
A couple visitors came by my shop and noted that the profile of my elevators do not have the concave dip at the trailing edge. It perked my curiosity but I was in the middle of building my center section spar. Now that I have just finished Chapter 17, I decided to tackle this concern. Before I can take any action, I need to extract the profile of the elevator and compare it against the plans template. I did it in two ways:
| Extracting Elevator Profiles |
|
|
|
I traced these profiles on top of the plans profile and sent them to Dennis Oelmann for review (Dennis Oelmann built my canard & elevator). After a few phone calls and e-mails, we concluded that the 'lack of concave' is probably caused by excessive micro overfill at the concave location and that the desirable profile can be recovered with a 'bit' of sanding. I offered to take a shot at it first. If I cannot make it right, Dennis offered to make it right. Regardless... |
| Shaping the Starboard Side (1st Round) |
|
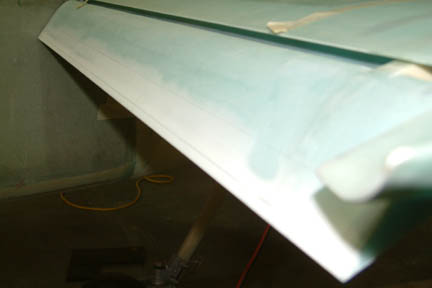
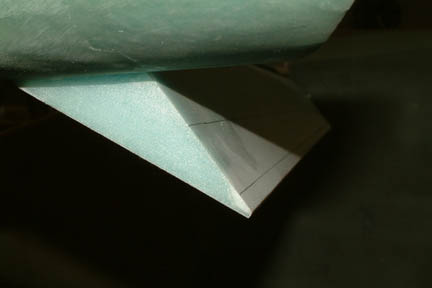
This was how my starboard elevator looked. There was quite a bit of micro fill left at the concave location. Note the two pencil marks I drew along the trailing edge (.3" and 1.5" from the trailing edge respectively)...
That's where I'll concentrate on the sanding. |
|
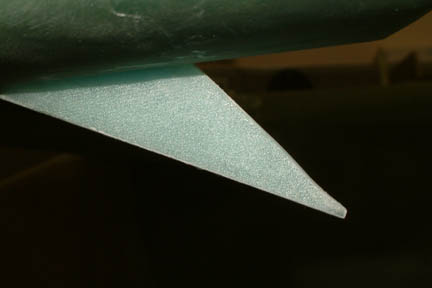
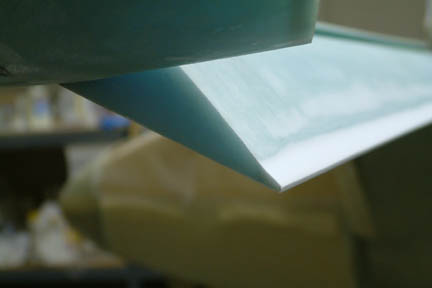
Just a closer look at the profile. I can feel very slight concave, but not significant.
|
|
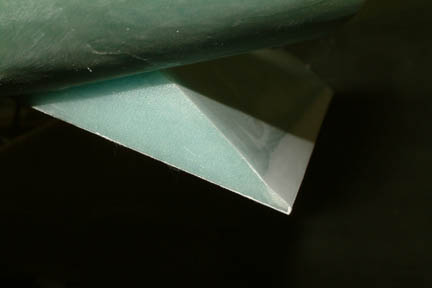
After I sand off most of the micro overfill (no removal of glass), the concave started to show. However, I was using a piece of sandpaper wrapped around a wood dowel and I was not able to get a real consistent concave profile along the entire length of the elevator.
|
|
Another picture of the starboard profile after my first round of sanding. Note the slight concave profile... I was not satisfied and I think I need a final sanding/shaping with a profile sanding block to make it better.
|
| Shaping the Port Side (1st Round) |
|
This was how my port side elevator looked. Again, I drew two straight lines (.3" and 1.5") along the trailing edge respectively.
That's where I'll concentrate on the sanding. |
|
Port side after the 1st round. Note the slight curvature...
|
|
I like this
curvature a bit better than the starboard side. I think I had a bit more
practice
|
|
Another shot of the port side after the 1st round. Again, it looked OK but I was not satisfied. I think I need a slight final shaping with a fixture as well. |
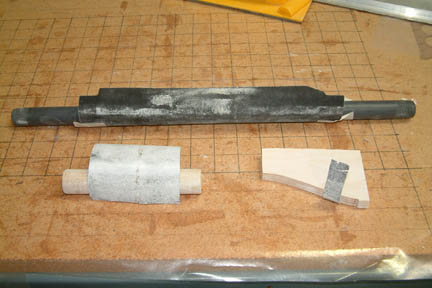
| Tools I Used |
|
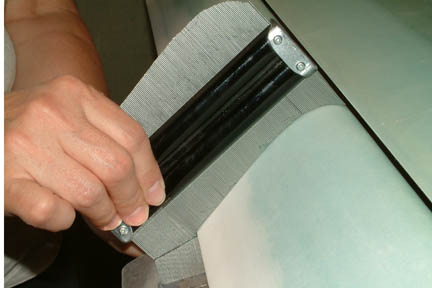
Here's the tools I have used. The top and the left were used in the 1st round...
The one at the bottom right is the wood sanding fixture with the elevator profile I used in the second round (below). I just wrapped a small strip of sand paper only and ran it along the trailing edge of the elevators. It removed the extra micro at the concave location. |
| 2nd Round Results |
|
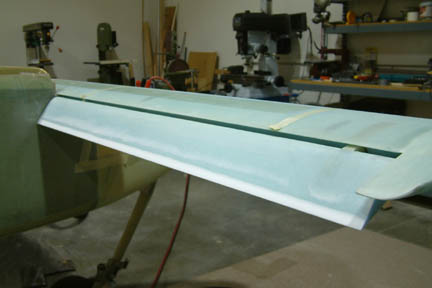
Here's my starboard side after the 2nd round with the profile fixture. This fixture helped me to achieve a more pronounced and consistent concave profile along the trailing edge. Not perfect, but pretty close. |
|
|
|
Here's my port side after the 2nd round. Again, consistent along the trailing edge. Not perfect, but pretty close. |
|
Another look at the port side outboard. |
I am happy to see that I was able to get a reasonably close concave profile per the plans template. I was careful not to sand into the glass. Actually, I used a 600 grit to smooth out all surfaces after the 2nd round.
It
took a LOT more sanding than anticipated. The micro overfill was hard to get
off... If this is an indication of things to come in the final smoothing and
contouring phase, I may as well give up while I am ahead ![]() .
.
BTW, my canard & elevator weighs 29 pounds.
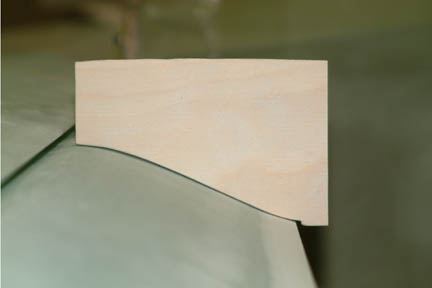
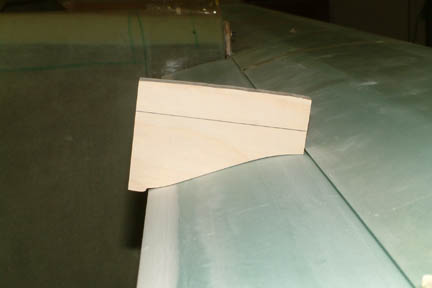
 My
second approach included a carpenter's widget and a small piece of aluminum
plate. I placed the aluminum against the bottom side of the elevator (which is
flat) and extracted the top profile with the widget. I took 3 sets of profiles per
elevator - a total of 6 data points. Together with the 2 ends profiles (above
method, totaling 8), they gave me a pretty good picture of my elevator profiles.
My
second approach included a carpenter's widget and a small piece of aluminum
plate. I placed the aluminum against the bottom side of the elevator (which is
flat) and extracted the top profile with the widget. I took 3 sets of profiles per
elevator - a total of 6 data points. Together with the 2 ends profiles (above
method, totaling 8), they gave me a pretty good picture of my elevator profiles.
 Starboard
(before sanding):
Starboard
(before sanding):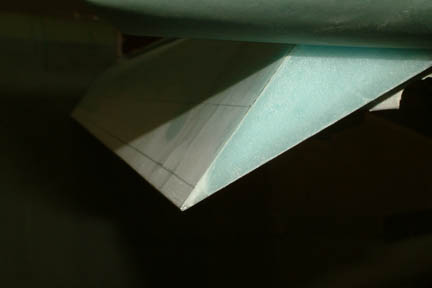
 Port
(before sanding):
Port
(before sanding):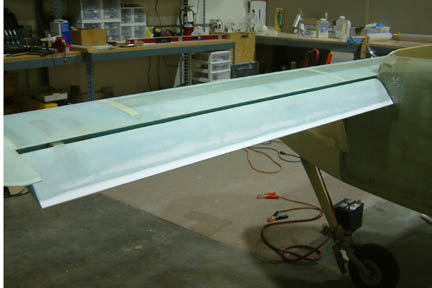
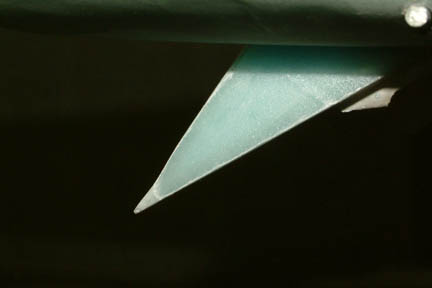
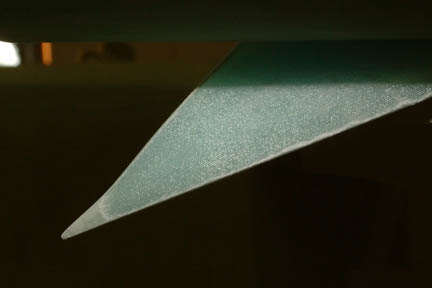 Just a closer
look at the outboard end. The shape looks much nicer than after the 1st round...
Just a closer
look at the outboard end. The shape looks much nicer than after the 1st round...