 |
 |
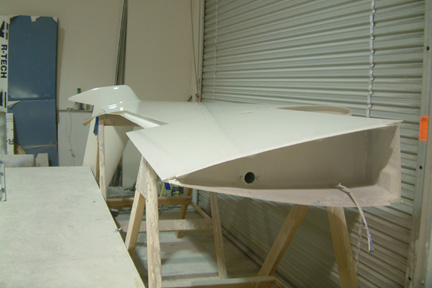
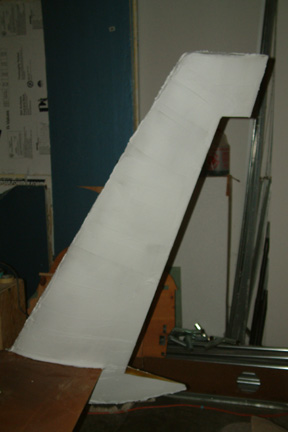
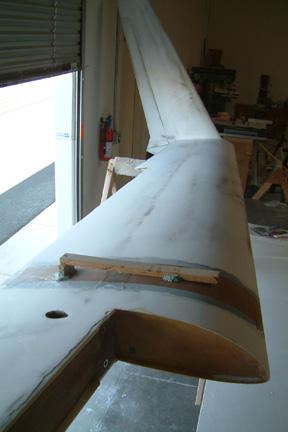
After most of the fuselage and strake bottoms were filled and sanded, I turned to the wings and winglets. I removed the rudders for a cleaner edge management. It was difficult to reach the top of the winglet for sanding. I decided to lower the wings to floor level - that was well worth the effort. It still took me 2 days to fill and sand the left winglet and rudder. |
 |
 |
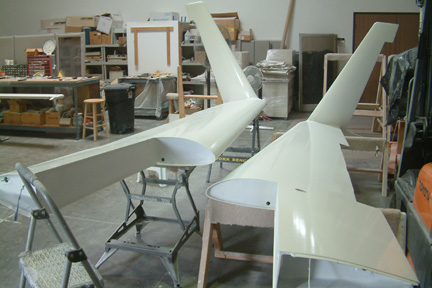
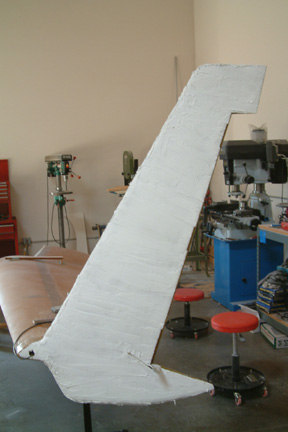
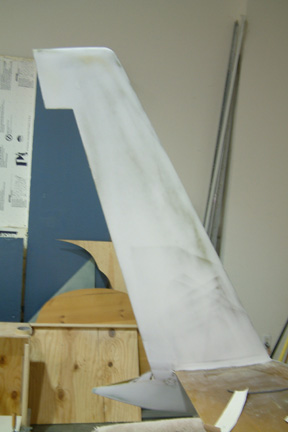
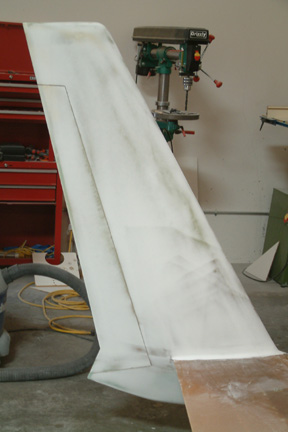
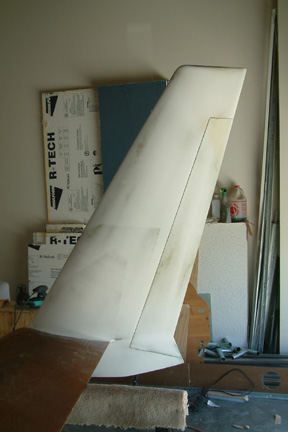
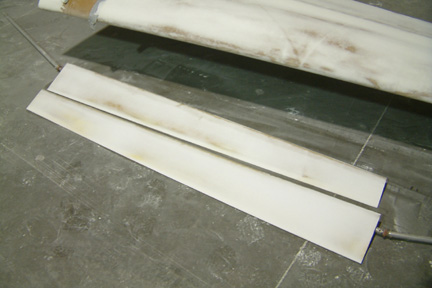
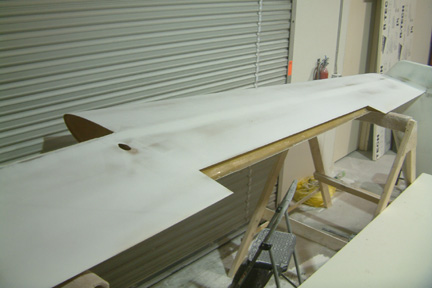
A picture of the right winglet,
another 2 days of fill and sand. You can barely see the 9 layers of BID on
the winglet.
|
 |
 |
After sanding, I hung the rudders back on and made sure they fit ok and move freely as before. At this stage, I am getting a much better feel with sanding. I started using my Porter & Cable palm sander longer. Besides removing the rough spots (cured micro), I used it to do my initial smoothing on the hills and valleys (micro) before going to the long boards. I like the palm sender better than the Dual Action sander because my palm sander has almost no vibration allowing much better control over the Dual Action sander. |
 |
 |
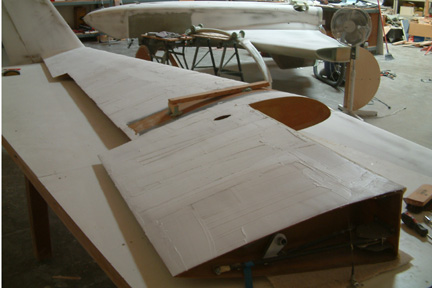
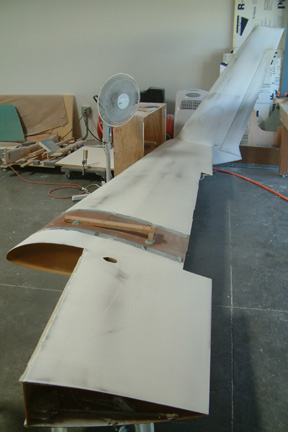
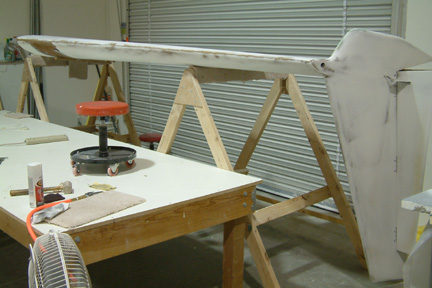
So far, I was not able to do a good job in making large batches of micro and spreading them out quickly. With smaller batches, I was able to take time to spread them and minimize air bubbles that tend to cause pin holes. Since the glass work was quite smooth to begin with, I found that I do not have to put on too thick of a layer of micro. Note that I did not fill and sand the level board area. It is because I forgot to write down the wing level degrees (for washer adjustment). I have to come back later to fill and sand these areas (when I fill and sand the top surfaces). There were quite a few bumps on this wing surface & I had to chase a few low spots along the spar cap. I had to re-visit one particular spot 3 times before I was satisfied with the surface. |
 |
 |
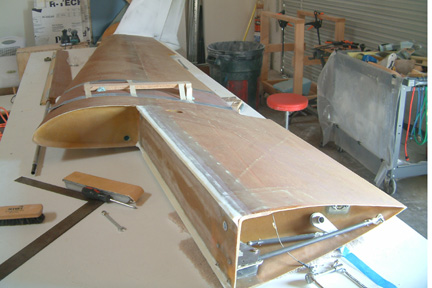
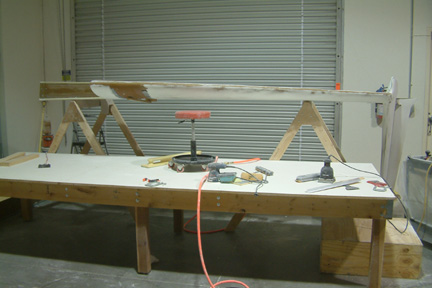
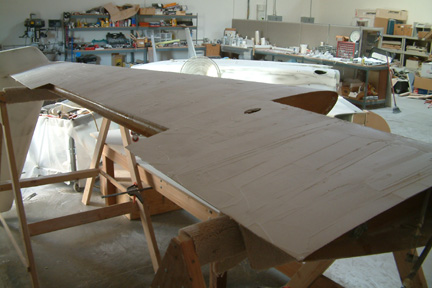
Prep sand the right wing with
ailerons removed. Took me a while to remember how the control rods were
mounted... Again, I left the level board areas alone for now, though I remember my right wing lined up to the fuselage perfectly (0o). I have less bumps on the right wing and the sanding went much easier than the left wing. Though you cannot see it in this picture, the 9 ply lay-up can be seen just below the micro surface. |
 |
 |
The ailerons were not difficult to
fill and sand because they were relatively small and flat. Again, I used
both the palm sander and the DA sander a bit more before going for the
long board (36 grit), then the long flat sanding T bar. It took me a bit
under 30 minutes to sand down each face of the aileron. Both ailerons completed.
|
 |
 |
I had to build a couple taller saw horses for sanding the bottom of the wings (to accommodate the winglets). I decided to clamp the tall saw horses to my work table and stand/sit on it for the sanding effort. It worked out well for me. |
 |
 |
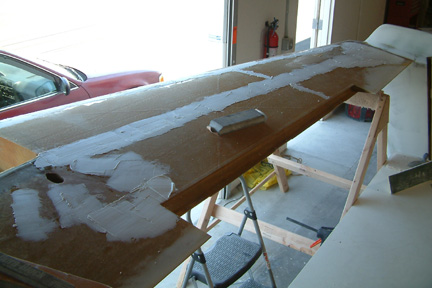
Wayne Hicks was visiting while I was getting ready for the underside of the left wing. Wayne recommended to pre-fill first because it will minimize low spots that I have to chase down and re-fill (2-3 times). I followed his advice and did a pre-fill and sand. After the intermediate step, I did a complete final fill and sand. It turned out to be my best surface so far. I have no low spots except a few pin holes and mouse bites. Thanks Wayne for the advice! |
 |
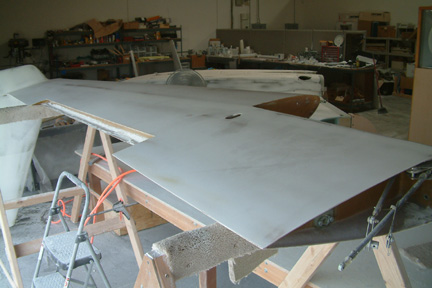 |
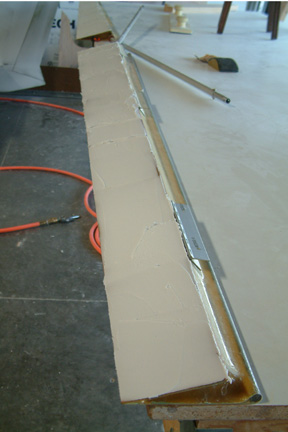
With the results I got from the left wing, I decided to pre-fill the right as well. Here's my right wing bottom after final fill and sanding. Note the final fill is not very thick. It is because my wing surface has been pre-filled and relatively smooth at the final fill stage. It minimizes excessive micro and reduces subsequent sanding effort. It was 92o and the loose micro loves to find its resting spot on sweaty areas... |
 Once
the wings are sanded, I mounted them back onto the strake to make sure nice
leveling and such. Besides, I have to remove the level boards and perform my
final touch up and sanding. I was surprised that the Cozy would not stand still
while I sand the surface of the wings. Just a chock behind the wheel did not
work for me. I ended up making simple yet effective tire blocks for the
occasion.
Once
the wings are sanded, I mounted them back onto the strake to make sure nice
leveling and such. Besides, I have to remove the level boards and perform my
final touch up and sanding. I was surprised that the Cozy would not stand still
while I sand the surface of the wings. Just a chock behind the wheel did not
work for me. I ended up making simple yet effective tire blocks for the
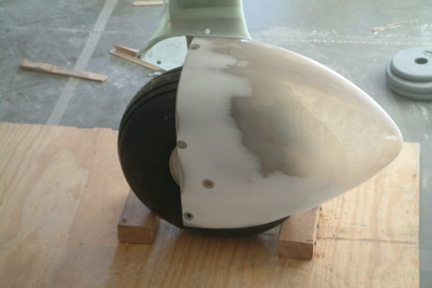
occasion. 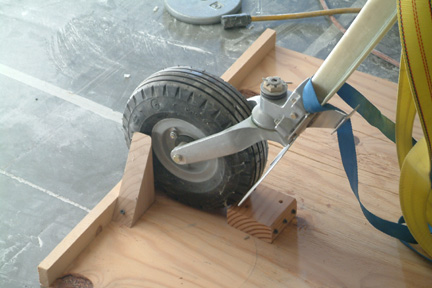 Here's
the wheel lock for the nose gear. The 2 triangle blocks keep the plane from
wobbling around!
Here's
the wheel lock for the nose gear. The 2 triangle blocks keep the plane from
wobbling around!