Alignment
Pin with Removable Bolts
The
canard alignment pin per plan is anchored in place and is not removable.
According to Cozy Forum FAQ, this approach made it hard to remove the canard. It
suggests an alternative approach that allows the pin to be removed as needed.
Surprisingly, I was not able to find any pictures on this approach
from any builder's sites. Regardless, I decided to take the removable bolt
approach. Here's what I did...
I
bought 8 feet of aluminum tubing with 3/8" OD from McMaster Carr (they did
not have anything shorter) - it
has the same diameter as its facing insert (CN-2) called out in the plans. I
cut two 4" lengths of tube with my band saw. The tubing has a small ID
(I was not
able to find any with 3/8" OD and 3/16" ID), therefore, I have to ream
out the ID to accommodate the AN-3 bolt diameter called out per plan.
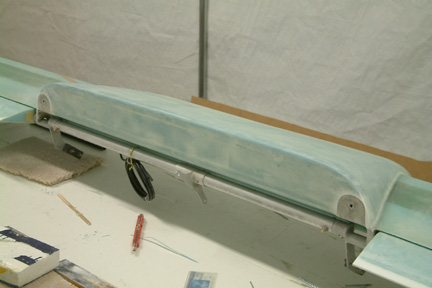
 In
this chapter, we will fit the canard to the fuselage, aligning it so that it is
level, perpendicular to the longitudinal axis of the fuselage in plan view, and
with the airfoil at the correct angle of incidence. This chapter is divided into
three sections:
In
this chapter, we will fit the canard to the fuselage, aligning it so that it is
level, perpendicular to the longitudinal axis of the fuselage in plan view, and
with the airfoil at the correct angle of incidence. This chapter is divided into
three sections: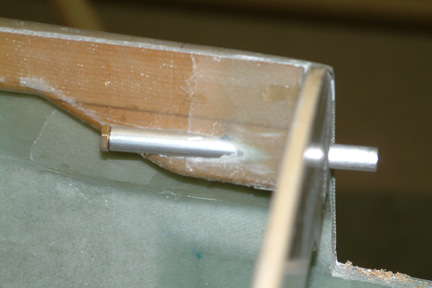 At
the center of the longeron doublers, I put a 3/8" hole straight through -
making sure the holes are parallel with the longitudinal axis of the fuselage
and horizontal as well. Due to the curvature of the longerons and doublers, the
drill bit will protrude out of the sides of the doublers. That's OK, because I
will eventually cover them up with glass. I slipped the 4" tubes through
the straight holes.
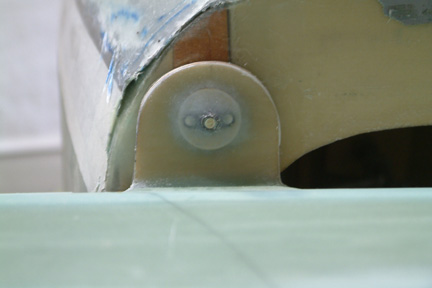
At
the center of the longeron doublers, I put a 3/8" hole straight through -
making sure the holes are parallel with the longitudinal axis of the fuselage
and horizontal as well. Due to the curvature of the longerons and doublers, the
drill bit will protrude out of the sides of the doublers. That's OK, because I
will eventually cover them up with glass. I slipped the 4" tubes through
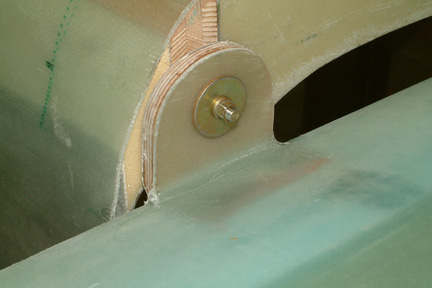
the straight holes. 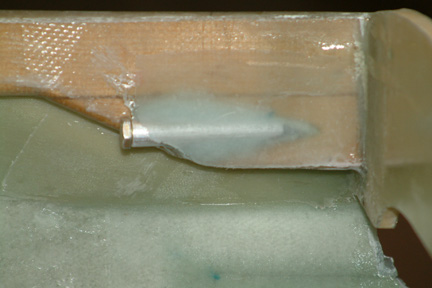 With
the longer bolt, I have two choices - I can push the bolt through the alignment
hole from fore to aft OR from aft forward. They both worked - just personal
preference.
With
the longer bolt, I have two choices - I can push the bolt through the alignment
hole from fore to aft OR from aft forward. They both worked - just personal
preference.